Changing your printer’s WiFi connection might seem like a daunting task, but with the right steps, it can be straightforward and uncomplicated. Whether you’ve upgraded your router or switched to a new internet service provider, knowing how to seamlessly connect your printer to the new WiFi network is essential. This guide will walk you through each step of the process, ensuring your printer is back online in no time. By following this guide, you’ll avoid common pitfalls and have your printer running smoothly on your new network.
Before diving into the process, a bit of preparation can go a long way in ensuring a smooth transition. Starting off with the right materials and verifying compatibility can save time and prevent frustration.
First and foremost, gather all the necessary materials. You’ll need your printer, a computer or smartphone, and access to your WiFi network credentials (SSID and password). Having these items ready will streamline the process and help you avoid interruptions.
Next, ensure that your printer is compatible with your new router. Most modern printers support standard WiFi protocols, but double-checking this can prevent any compatibility issues. Refer to your printer's manual or manufacturer’s website for specific compatibility information.
With your preparations complete, it’s time to access your printer’s settings. This step involves finding the printer’s menu where network settings are located, which can be done via the control panel or through your computer.
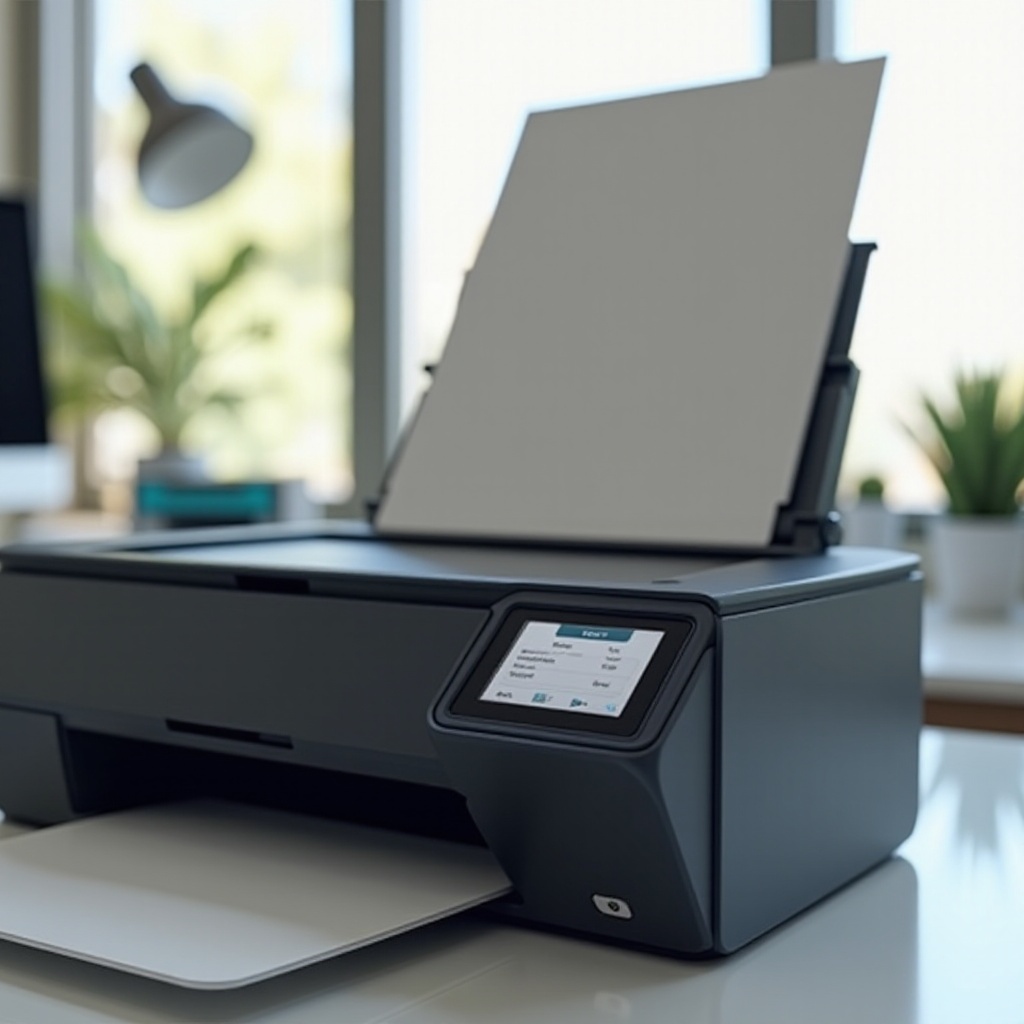
Many printers come equipped with a control panel that allows users to navigate various settings. Start by powering on your printer and locate the control panel, which is often a touchscreen or a series of buttons. Accessing the network settings through the control panel is usually straightforward, so follow the on-screen instructions.
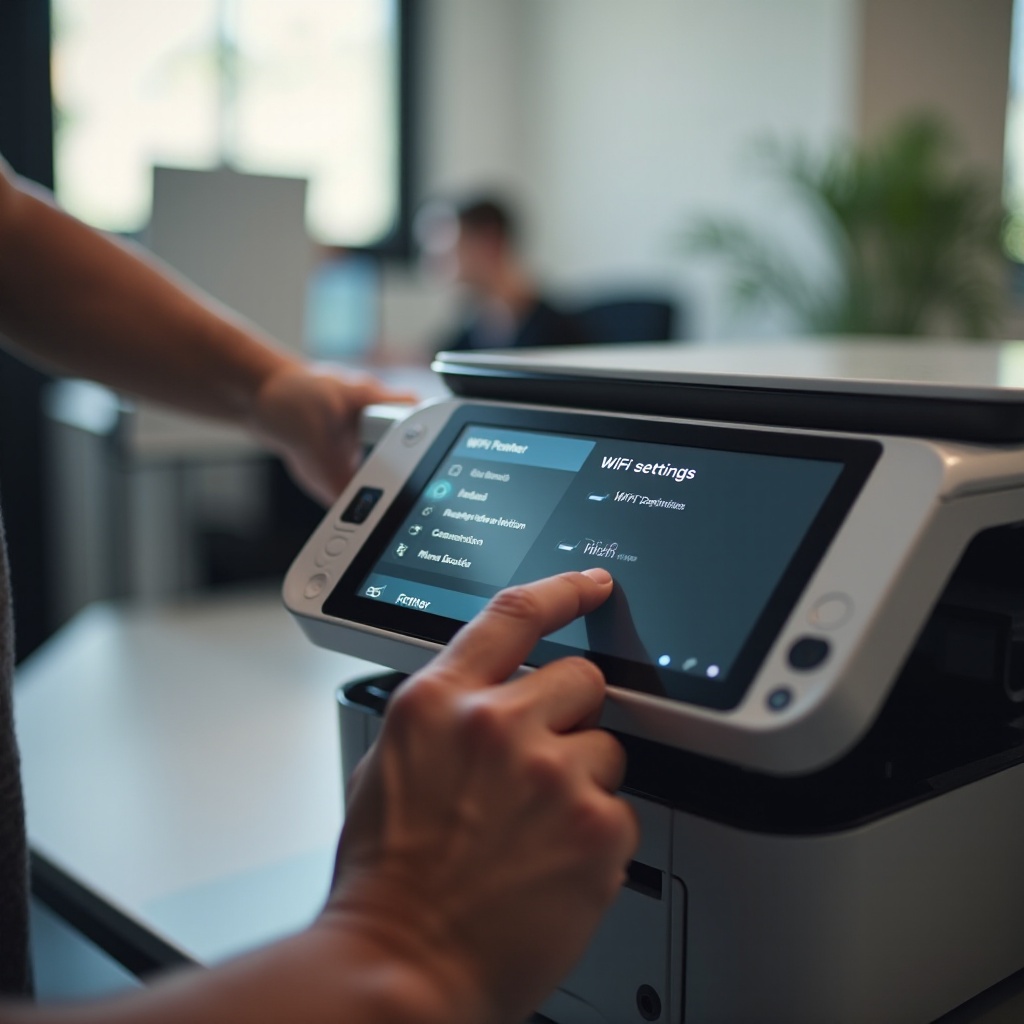
Once you’re in the printer’s control panel, navigate to the wireless or network settings menu. This is where you’ll find options for configuring WiFi settings. Depending on your printer model, you might need to select ‘Setup’ or ‘Settings’ followed by ‘Network’ or ‘Wireless’. Be sure to carefully follow the prompts on your screen to access the required settings.
Before you can connect to a new network, you’ll need to disconnect your printer from the existing one. This ensures that the printer does not attempt to connect to the old network, which could lead to connectivity issues.
To forget the old WiFi network, locate the current network settings where you initially viewed network details. Look for an option like ‘Forget Network’ or ‘Disconnect’. Selecting this will remove the old network's credentials from your printer.
If the printer does not disconnect from the old network properly, you might need to restart it or perform a factory reset. Check the user manual for specific instructions on how to reset your model to factory settings if necessary.

With the old network forgotten, you’re now ready to connect your printer to the new WiFi network. This involves scanning for available networks and entering the correct credentials.
In the network settings menu, select the option to scan for available networks. Your printer will display a list of nearby WiFi networks. Find and select your new network’s SSID from the list.
After selecting your network, you’ll be prompted to enter the WiFi password. Ensure that you enter the correct password, paying attention to uppercase and lowercase letters as passwords are case-sensitive. Some printers may then require additional information, such as security protocol (e.g., WPA2), so have that information handy if needed.
Ensuring that your printer has successfully connected to the new network is crucial. This step involves checking the connection status and performing a test print to confirm everything is working correctly.
Once you’ve entered the network credentials, the printer should attempt to connect. You might see a confirmation message on the screen indicating a successful connection. Alternatively, you can check the network status within the settings menu to confirm the connection.
To verify that your printer is properly connected and functioning, print a test page. This can usually be done from the settings menu under ‘Maintenance’ or ‘Test Print’. A successful test print indicates that your printer is ready for use on the new network.
Even with careful preparation and execution, you might encounter some common issues. Understanding how to troubleshoot these problems can help keep the process smooth.
If your printer fails to connect to the new WiFi network, double-check the credentials and compatibility. Ensure that your router is functioning correctly and that the printer is within the signal range. Sometimes, simply restarting both the router and the printer can resolve these issues.
If you continue to experience issues, it might be time to seek professional assistance. Contact your printer’s customer support for detailed troubleshooting and guidance. Many manufacturers also offer online resources and forums where you can find additional help.
Changing your printer’s WiFi network doesn’t have to be a hassle. By following these straightforward steps, you can quickly and effectively connect your printer to a new WiFi network. Preparing the necessary materials, accessing the right settings, disconnecting from the old network, and connecting to the new one are all part of the process. Should you encounter any issues, troubleshooting resources are readily available. Now, you can enjoy hassle-free printing with a stable and secure WiFi connection.
If your printer won't connect to the new WiFi, ensure that you’re entering the correct network credentials. Check your router settings to confirm compatibility and signal strength. Restarting both the router and the printer can also resolve most connectivity issues.
If your printer lacks a control panel, you’ll typically need to use a computer or smartphone. Check the printer’s manual for instructions on accessing network settings through software provided by the manufacturer. This might involve connecting the printer to the computer via USB and using a setup wizard.
Changing your printer’s WiFi settings remotely is usually not possible, as physical access to the printer is required to initiate the settings change. However, some advanced models with cloud-based management systems may offer limited remote access features through manufacturer-specific services.